In today’s integration-driven world, the ability to transform data seamlessly across systems is a critical capability. While DataWeave has long been a powerful language within the MuleSoft ecosystem, developers are increasingly looking to leverage its capabilities outside of traditional runtime environments.
With Visual Studio Code (VS Code), you can now develop, test, and validate DataWeave scripts locally—bringing agility and efficiency to your development workflow.
This guide walks you through the exact steps to set up DataWeave in VS Code and start building transformations in minutes.
Why Use DataWeave in VS Code?
Before diving into the setup, it’s worth understanding the value:
- Faster Development Cycles – Write and test transformations without deploying to a runtime
- Improved Debugging – Immediate feedback on scripts
- Lightweight Setup – No need for a full Mule runtime
- Reusability – Build and maintain transformation logic independently
Prerequisites
Ensure you have the following installed:
- Visual Studio Code
- Apex coding experience
- Basic understanding of DataWeave syntax
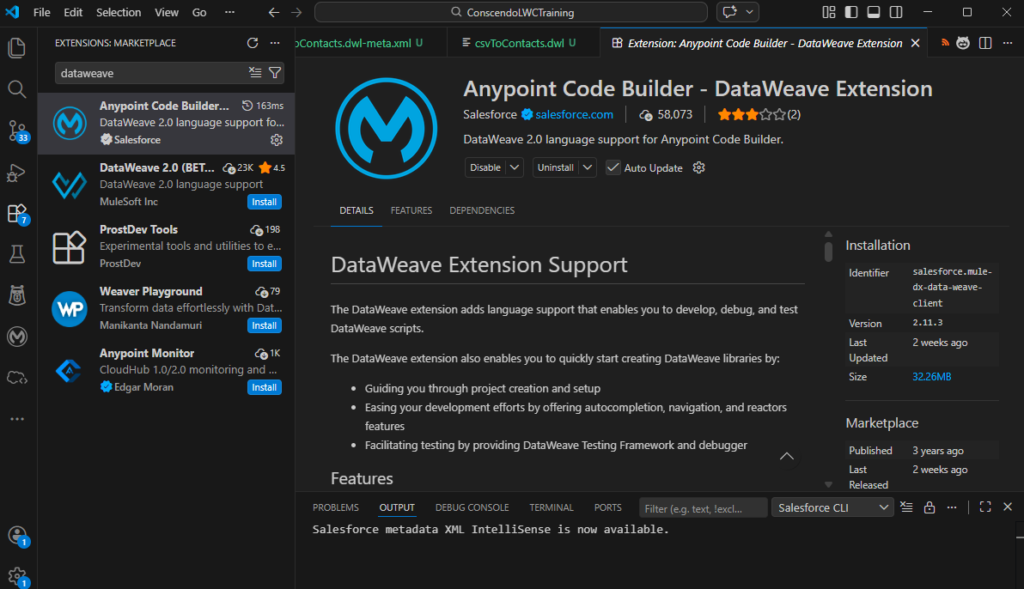
Step # 1 : Open VS Code, search for dataweave. you will notice Anypoint Code Builder – DataWeave Extension. Click Install.
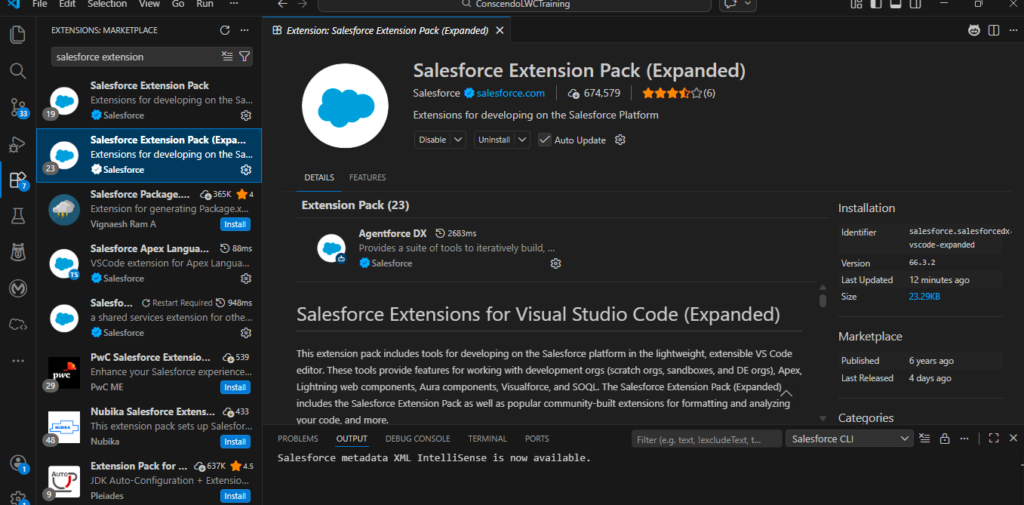
Step 2: Install Salesforce Extension Pack for Visual Studio Code
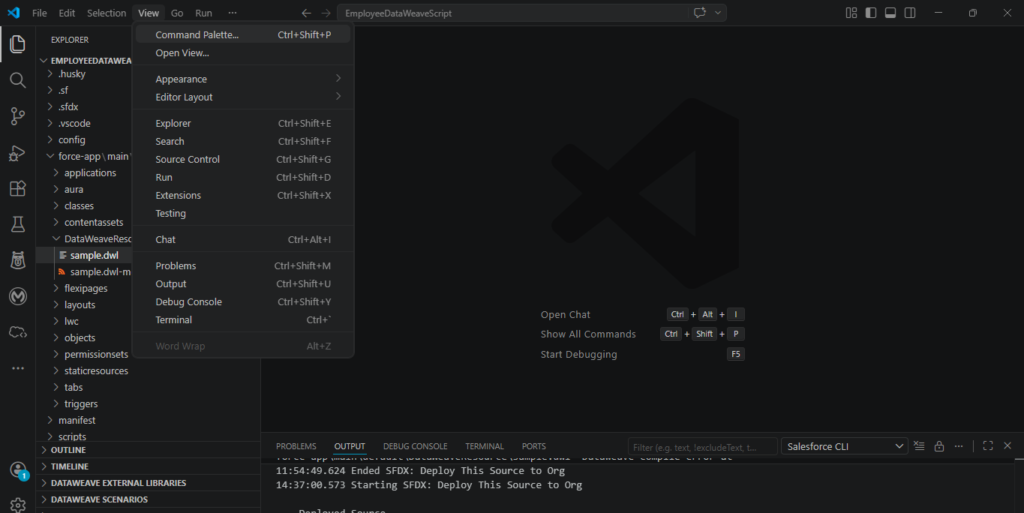
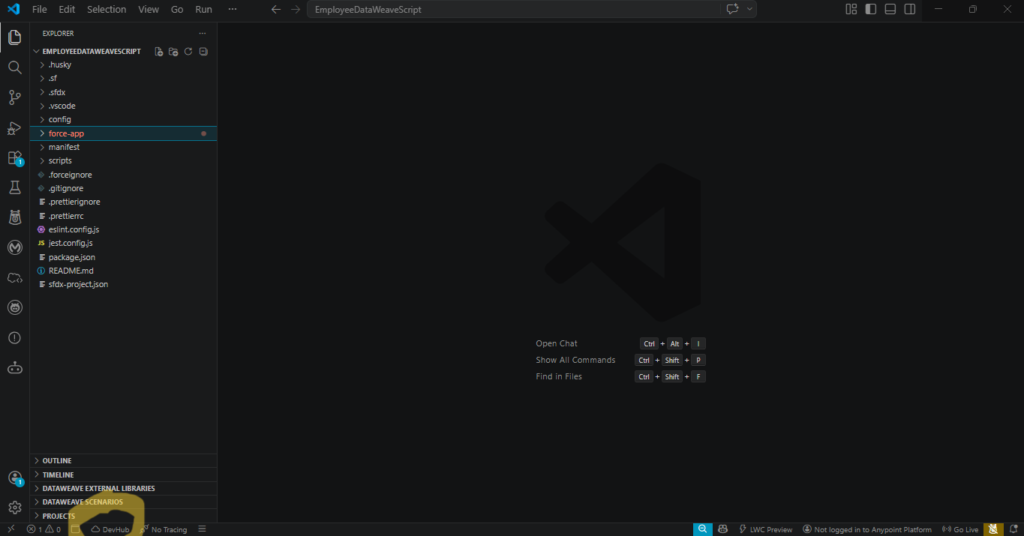
Step 3: Create a Simple Project in VS Code
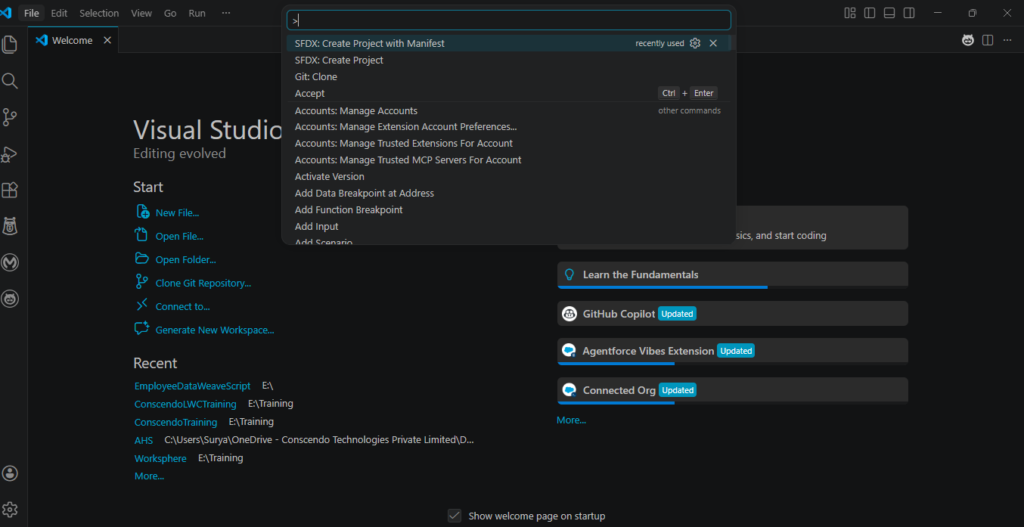
Give name to the Project : Employeedatweavescript
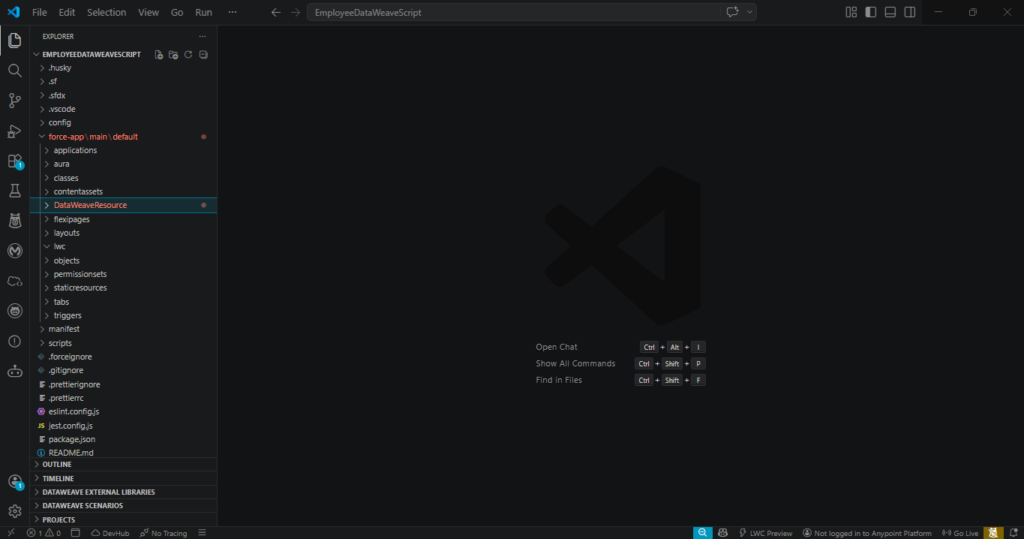
This creates a local folder
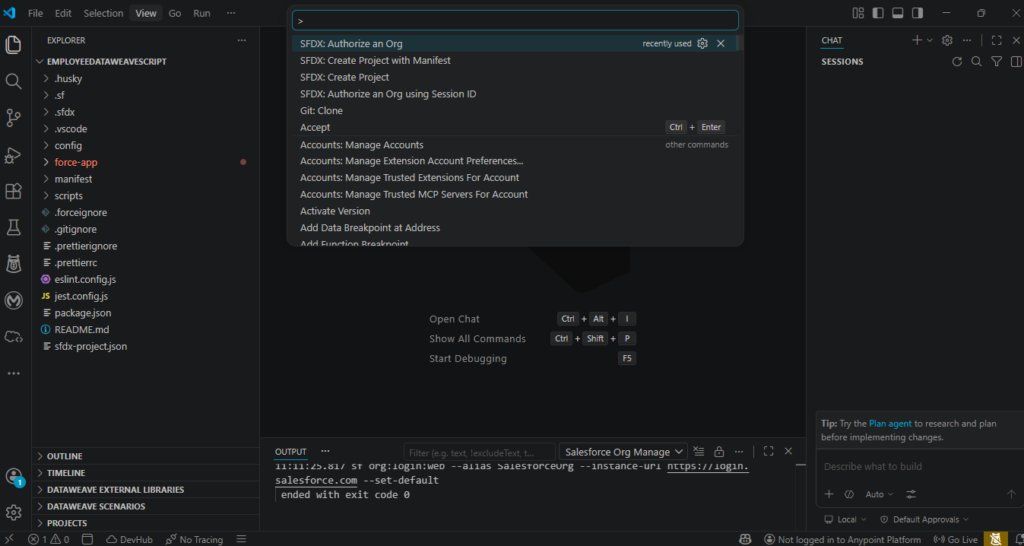
Step 6: Connect to Salesforce Org
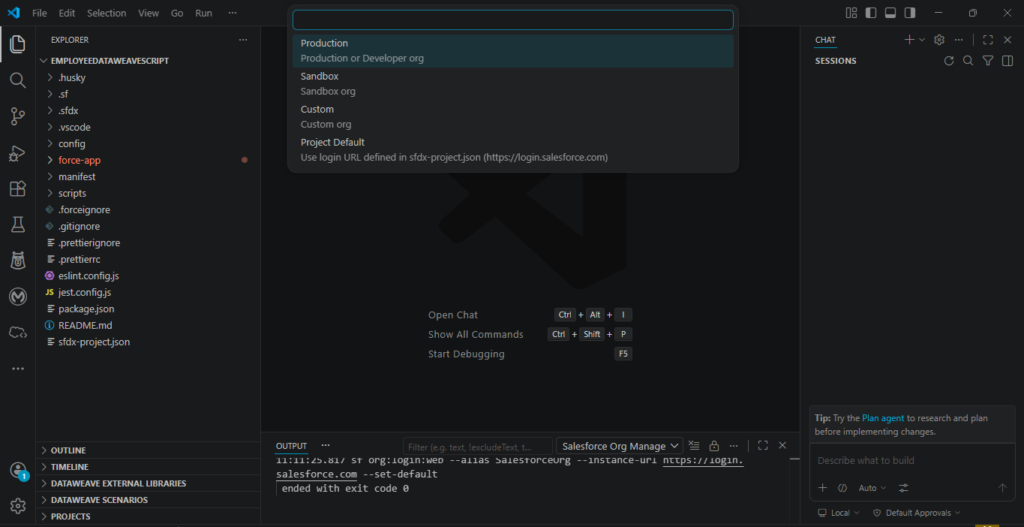
Step 7: Select the environment,
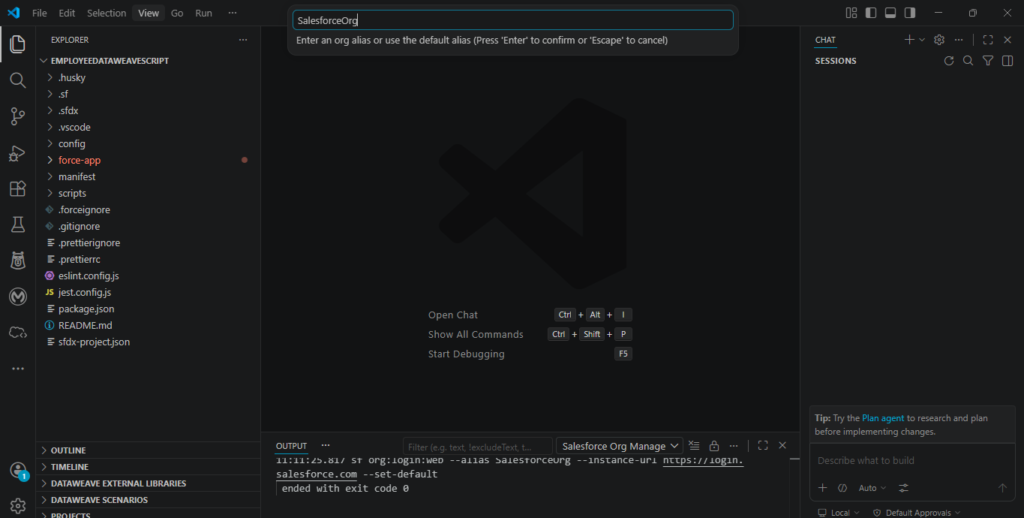
Step 8: Give a name to the Org in VSCode
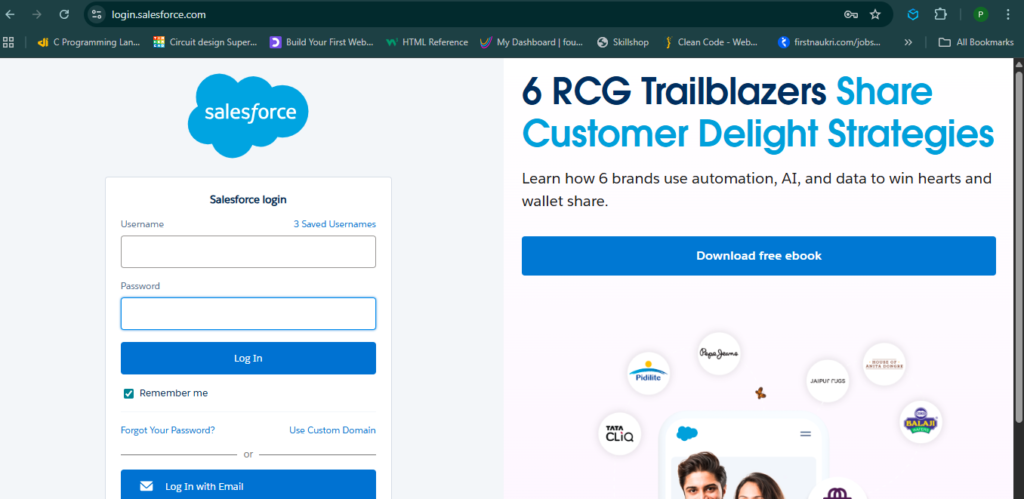
Step 9: Login to Salesforce
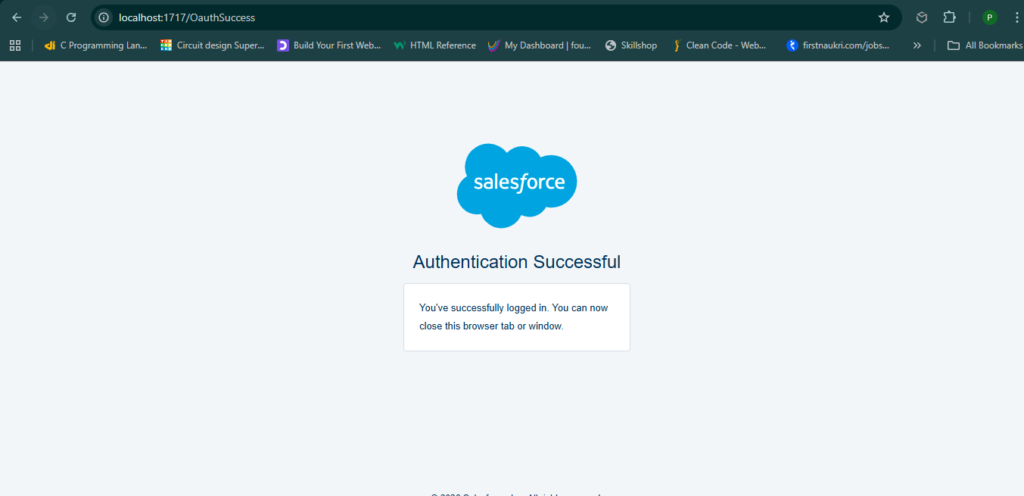
Step 10: Auth Successful
Step 11: Verify if Salesforce in connected
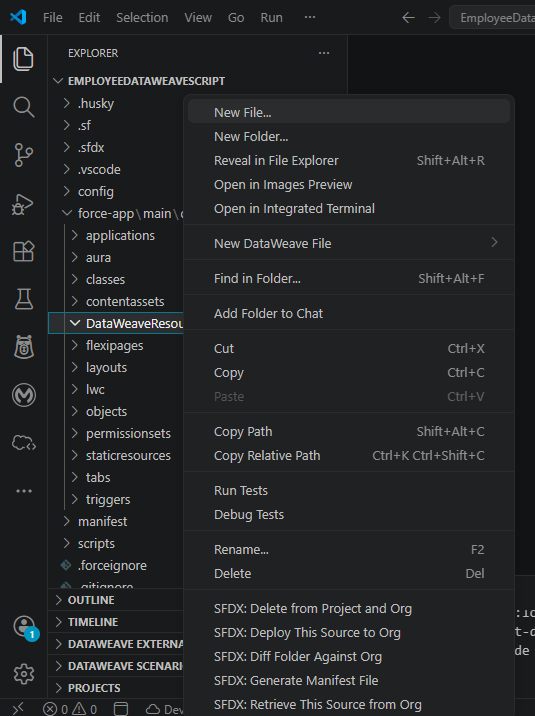
Step 12: Create datweave resource folder

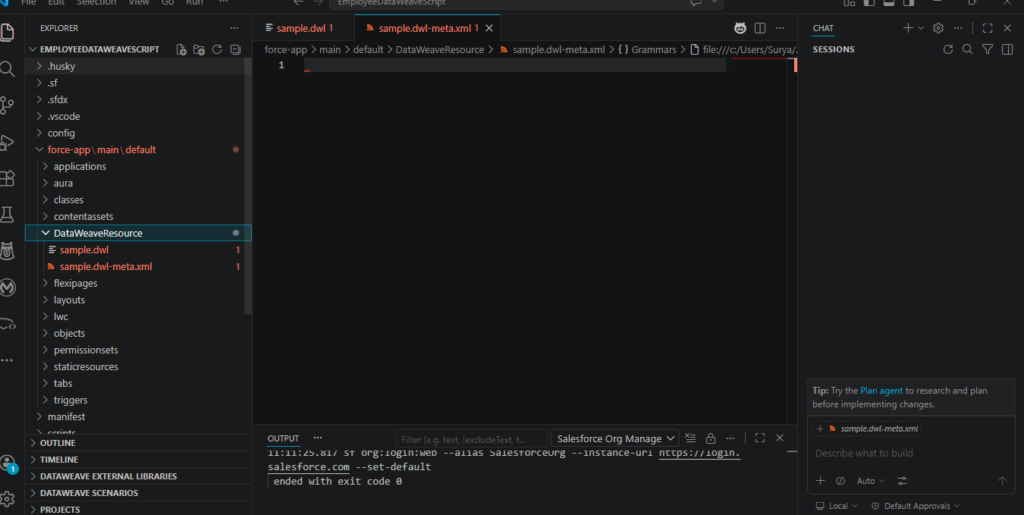
Step 13: Create DW files
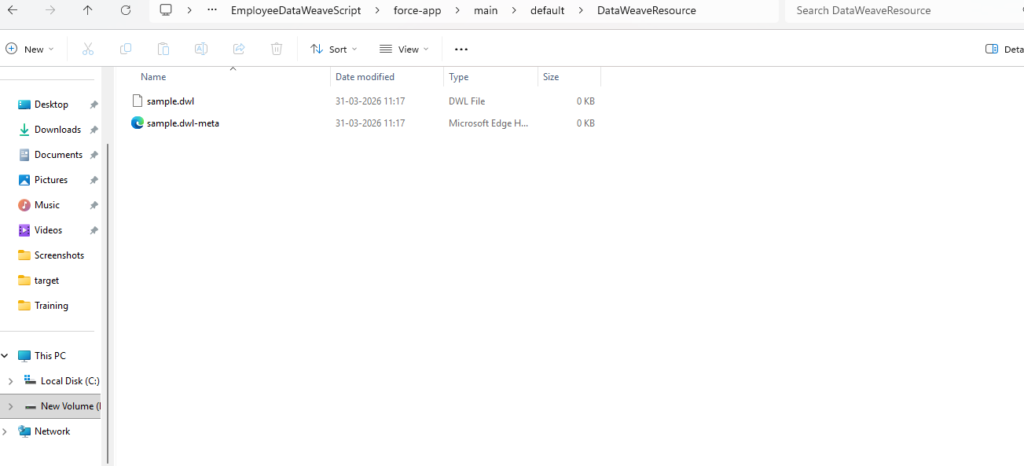
Step 14: Verify created empty files
Now all set for doing our first POC in VSCode with dataweave.
